Houses are externally plastered to overcome deviation in plumb and line that are inherently occurred due to deviations in RCC and masonry wall, line and level individually. Also as there are numbers of joints in individual masonry courses and also between RCC and masonry wall, these joints are prone to rain water ingress, external waterproofed plaster becomes a necessity to give watertight envelope to a building.
Things to remember while doing external plaster for buildings
Before initiating an external plaster there are various things we need to keep in mind, so that it achieves its whole purpose
- Houses are externally plastered to overcome deviation in plumb and line that are inherently occurred due to deviations in RCC and masonry wall, line and level individually.
- Also as there are numbers of joints in individual masonry courses and also between RCC and masonry wall, these joints are prone to rain water ingress, external waterproofed plaster becomes a necessity to give watertight envelope to a building.
- External Cement plaster is usually in double coat as arrived thickness as < 20mm. If thickness of plaster is more than 15mm then double coat cement plaster is recommended.
- Plaster also used to create complex designs, art work and designs to make beautiful exterior.
Checks and Tips on External Plastering
- RCC surface to be plastered should be hacked, 32 indentations per sq.ft. is recommended to get good mechanical bonding.
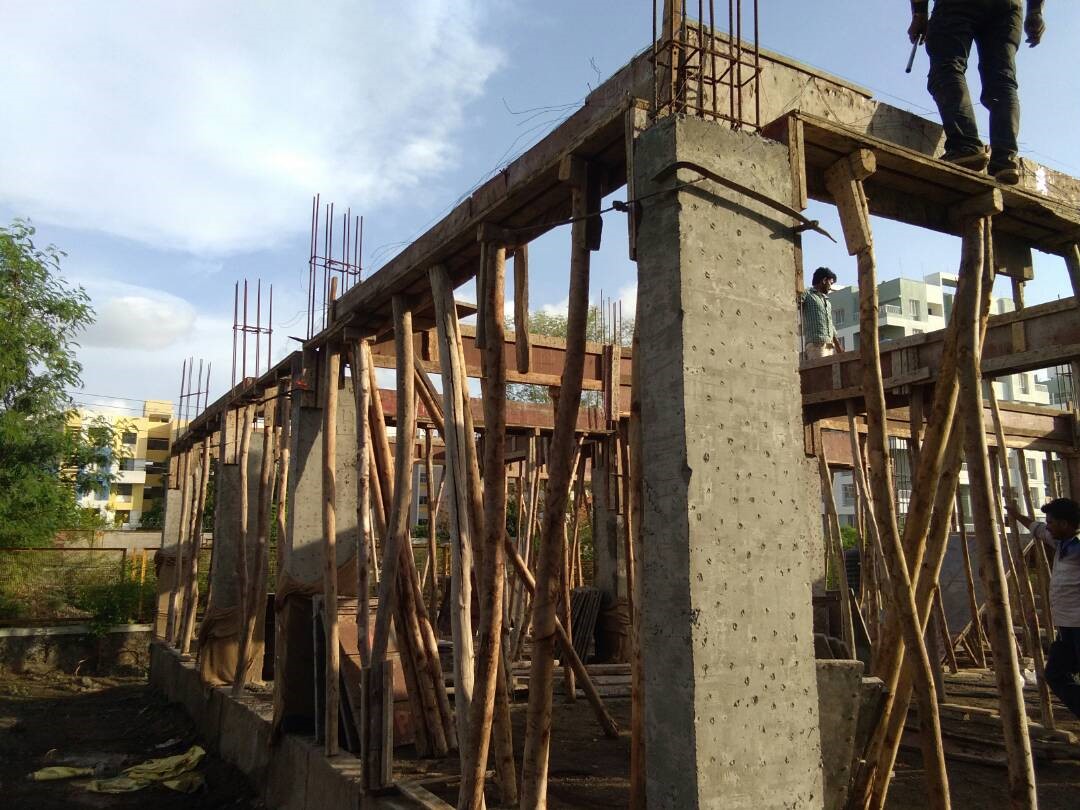
Bonding chemicals can also be applied for chemical bonding
- While doing plaster always check masonry wall, columns and building components are free from dust, grease, cement slurry or any other biological growth, which may affect plaster bonding with its substrate. If any such dust or any other biological component found on wall surface should cleaned properly and then plastering should done
It is advisable to begin external plastering as soon as feasible from date of masonry wall completion, for a good bonding, avoid any deposit /accumulation on it
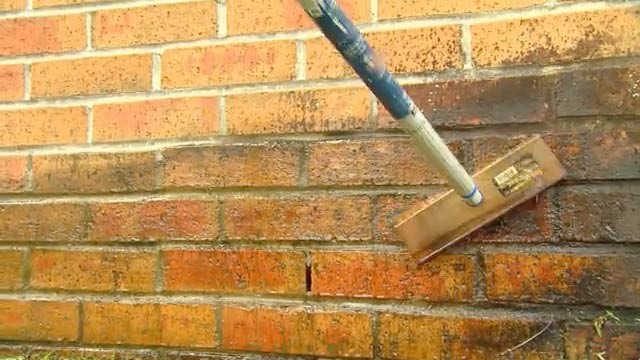
- Surface to be plastered to be kept wet, before 06 hrs. minimum before commencing plaster so that when cement mortar is applied on masonry wall, it will not absorb water/ moisture from cement mortar
- Surface to be plaster should chopped properly with even surface such that there will be no concrete flakes
- Level pads (bull marks) should be made on masonry wall at a minimum distance of 2m C/C for getting plaster surface in perfect line and level
- Ensure that all equipment require for plaster like mortar mixer, tray, shovels etc. are available on site
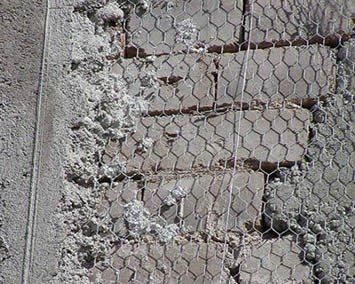
- Chicken mesh should be fixed on joint of masonry wall and RCC, to avoid cracks due to expansion and contraction of dissimilar materials
- Intermediately check that plaster applied to masonry wall have uniform and even surface using plumb bob and straight edge
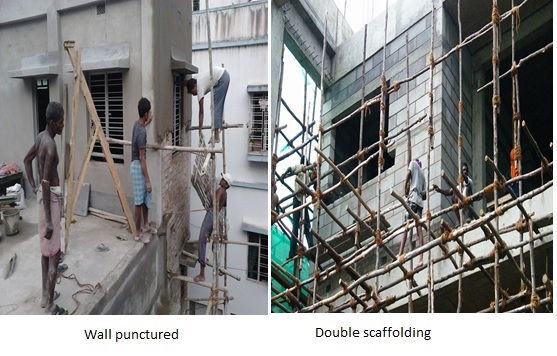
- Avoid wall puncture for scaffolding support, keep masonry wall a virgin as possible, go for double scaffoldings
Tips for External Plaster
- Blended cement (PPC/PSC) is recommended for plastering
- Always take care that first coat of plaster is cured three day before applying second coat so that heat evolution of first coat is properly taken off
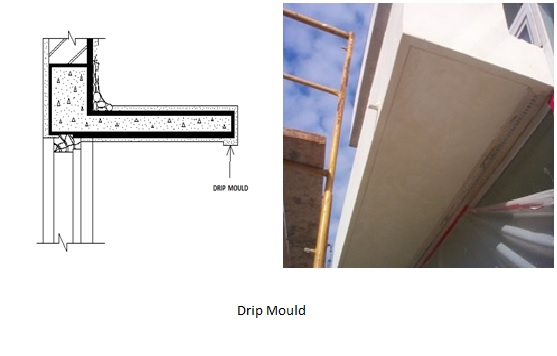
- Ensure that drip mould is provided at all chajjas, parapet walls and sills so that water will not come along a wall in rainy season into the home
- While mixing plaster mortar take care that all cement, sand, fibre and waterproofing compound are mixed well in dry condition and then water should added to achieve required consistency
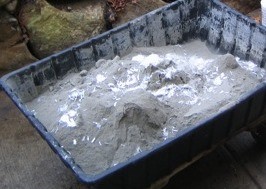
- Prepare quantity of cement plaster so as to consume it with 01 hr. of mixing
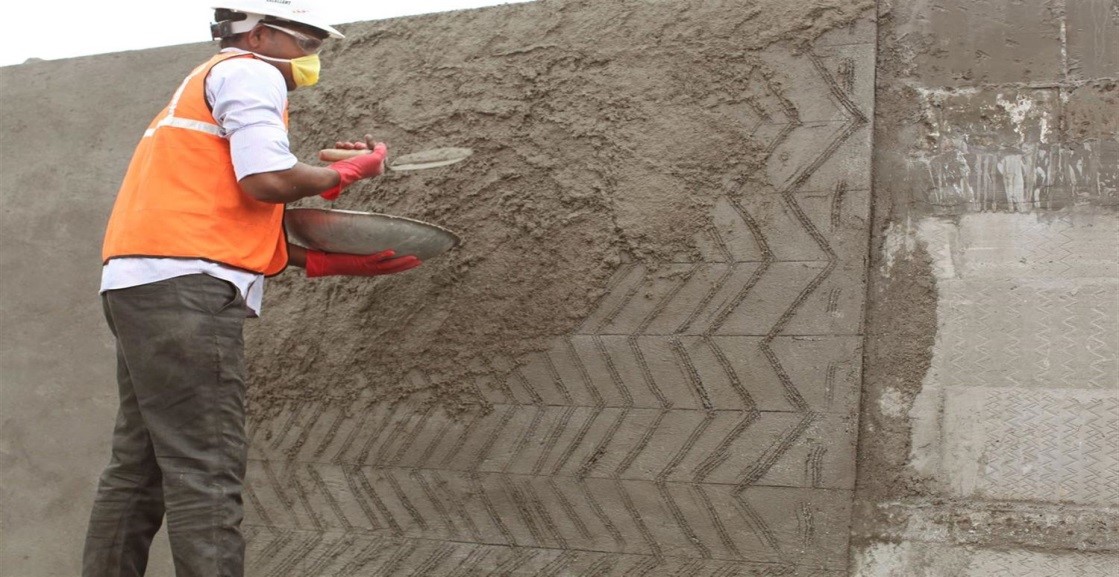
- Always roughened first coat of plaster in wet stage before applying second coat for better bonding between two-plaster coats
- Most importantly ensure curing of plaster is done, at least for 10 days