Toilets, balconies and utilities areas are the most prone areas to water leakage issues and need full attention while being build and waterproofed.
Step-By-Step Procedure to Do Water Proofing of Toilets and Utility Area
Step-1: Surface Preparation
Post completion of masonry walls, chasing and installation of concealed electrical conduit pipe and plumbing pipe, check for leakage by pressure – 10 kg/cm2 ,for any leakages. Plaster the wall and post curing of 07 days, take the entire area for waterproofing.
A Difference in the levels of toilet slab and floor slab is usually called as sunk. Generally, a sunk of 150mm to 200mm is provided to the slab of toilets blocks. The sunk is required for laying drainage pipes (usually 110 mm dia PVC) and floor/Nahni Trap (height of 75 to 100 mm) accommodating drainage for bath provision like shower, wash basin, bath tub etc.
The first step would be surface preparation to receive waterproof built up, slab sunk surface should be cleaned to remove dirt, dust, laitance, soft mortar and all loosely adhered particles.
Step-2: Testing the Substrate – Water Ponding Test
For best results, It is always advisable to check the condition of Concrete slab as it’s the substrate for receiving waterproofing built up.
The cleaned concrete surface is subjected to water ponding by allowing water to stand (for 48 hrs) on the prepared area. The surface is inspected for any leakages, dampness, dripping, if the same is observed it need to be rectified by crack filling the visible cracks on slab and Injection Grouting as per the procedure explained in Step 3.
Step 3: Strengthening the substrate – Crack repair and Grouting
Visible cracks to be sealed by creating “V” groove, making the inside of the crack bigger (< ¼ “) than it are at the surface, this helps the repair material (non- shrink repair grout) bond with the crack.
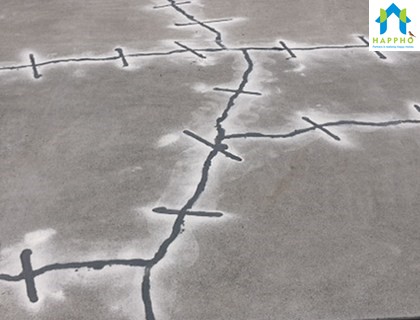
Fig: Crack sealing after making a V-Groove
Followed by attending cracks, Injection grouting is done using injection grout pump with a non- shrink cement grout at leakage points or at well distributed points (grid of 2’X2’) this makes the substrate concrete slab less porous.

Fig: Injection Grouting process
Step-4: Water proof Built-up
A. Plumbing / Pipe Insertions
All Pipe inserts must be installed prior to the application of waterproofing system on the sunken slab. The opening on punctured walls around the pipes should be packed using with a mix of Cement:Sand (1:3) mix with Styrene Butadiene Bonding emulsion, at least 48 hours prior to application of waterproofing.
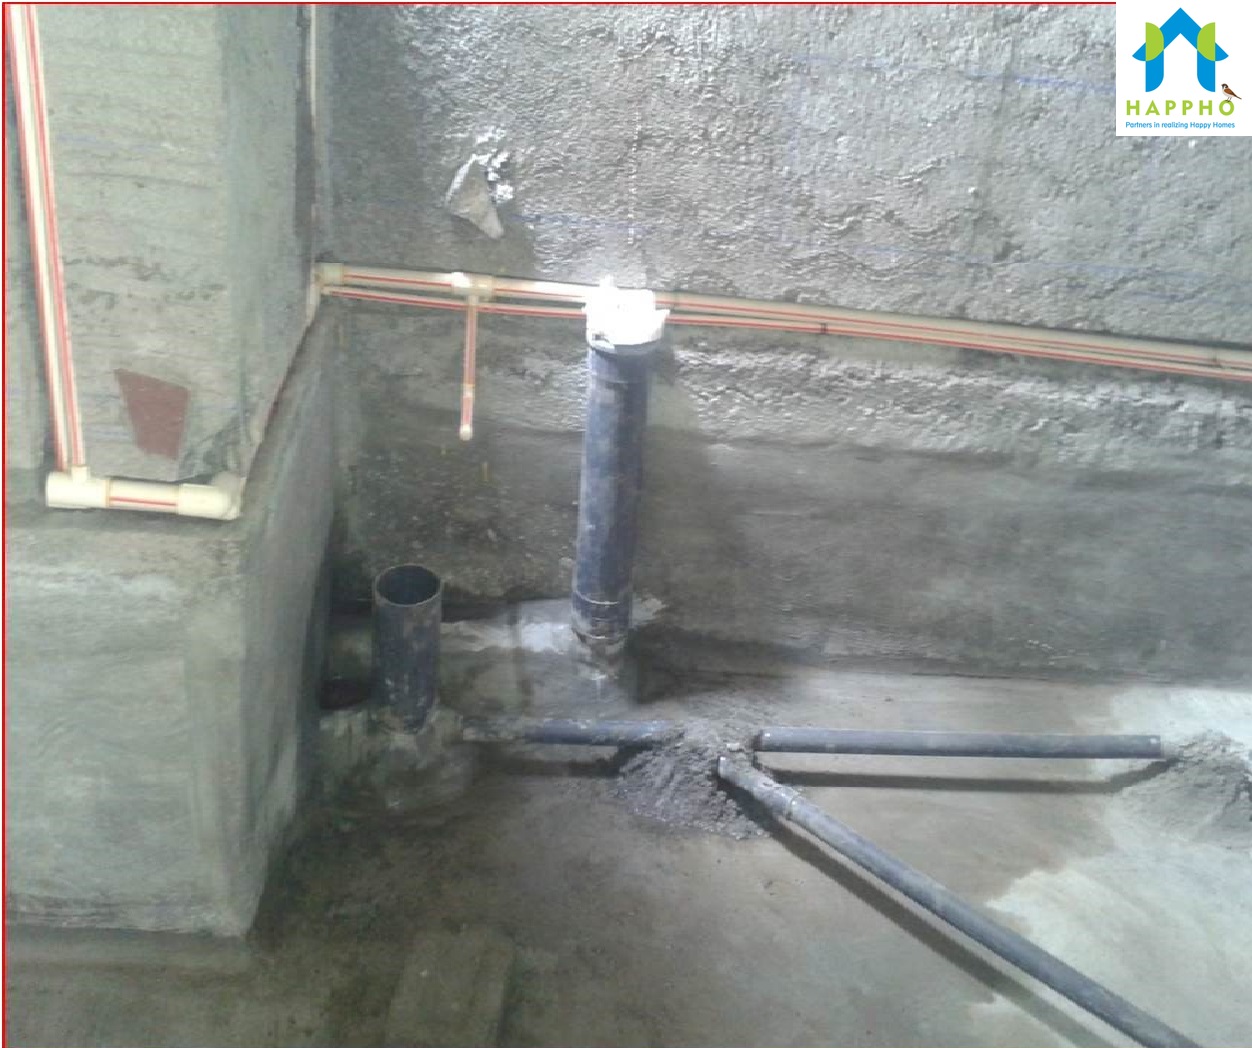
Fig: Plumbing pipes and inserts placed before waterproofing
B. Prewetting the Surface
The slab should be Pre-wetted to make it saturated and free water to be drained using a dry cloth.
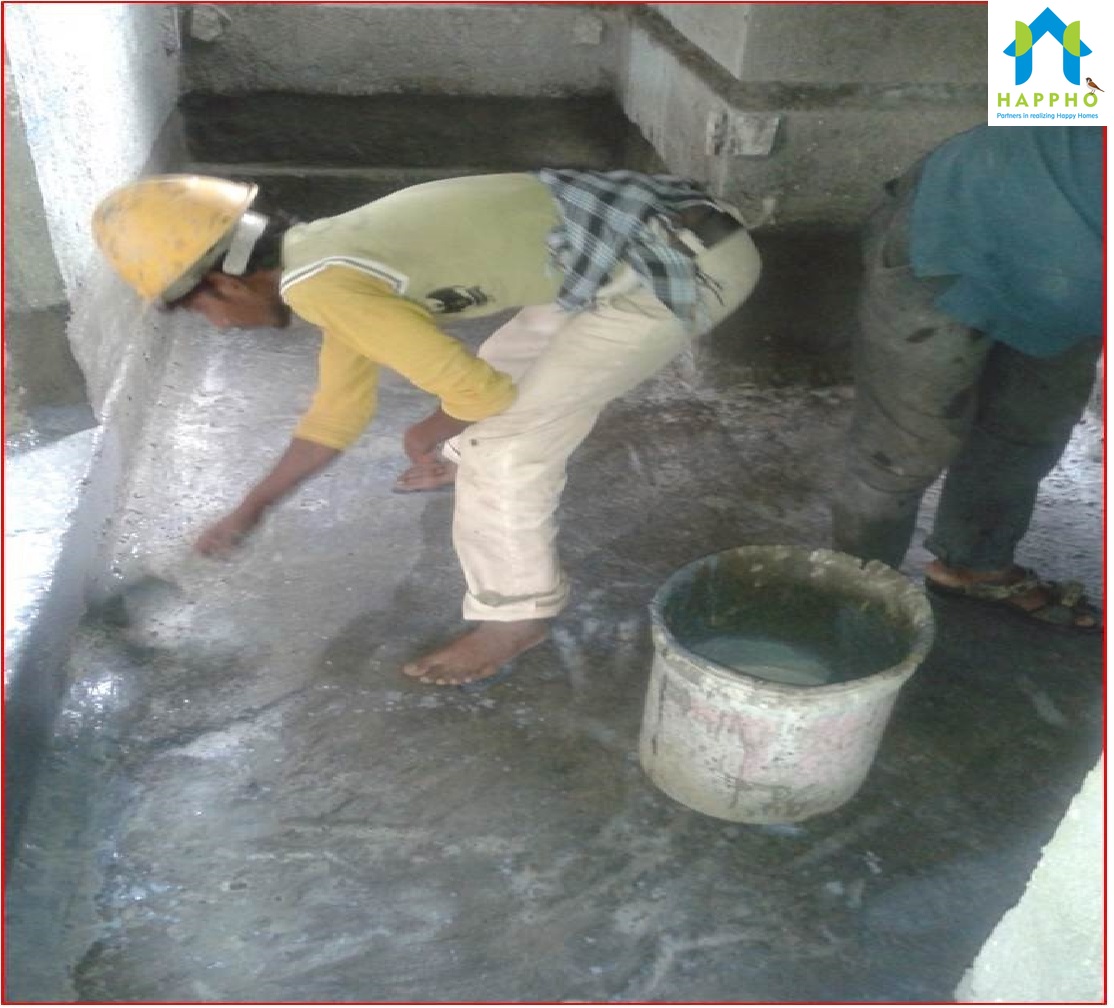
C. Application of Base Coat
Applying a coat of cement slurry with waterproofing compound (proportion as per manufacturer). The coat has to be extended on the masonry wall atleast 2’ above sunk (this will protect common wall against dampness due to capillary action).
Apply another coat of cement slurry with waterproofing compound (second coat) after 06 hrs of first coat.
Protect the base coat with 1/2” thick mortar (1:4, admixed with waterproofing compound) to protect the base coat against any puncture while building successive layers
Once the base coat is protected, the layer should be tested for any leakage by water ponding test for 72 hrs.
If no leakages are observed, then you can proceed with sunk filling by brick bat. Incase leakage is observed, the entire base coat has to redone.
d. Brick Bat Coba layer
Brick bat layer serve as economical sunk filler as they are available easily at any site and also light weight in comparison to concrete.
Please note they directly don’t contribute to waterproofing.
Brick bats can be replaced by AAC (Autoclaved Aerated cement) block bats, foam concrete or EPS (Expanded polystyrene) Concrete.
Laying of sound brick bat coba (~100mm thk.) at required gradients, slope between ¼” to ½” per feet. Proper gap should be maintained between the brick bat not more than 10mm to 15mm with staggered joints.
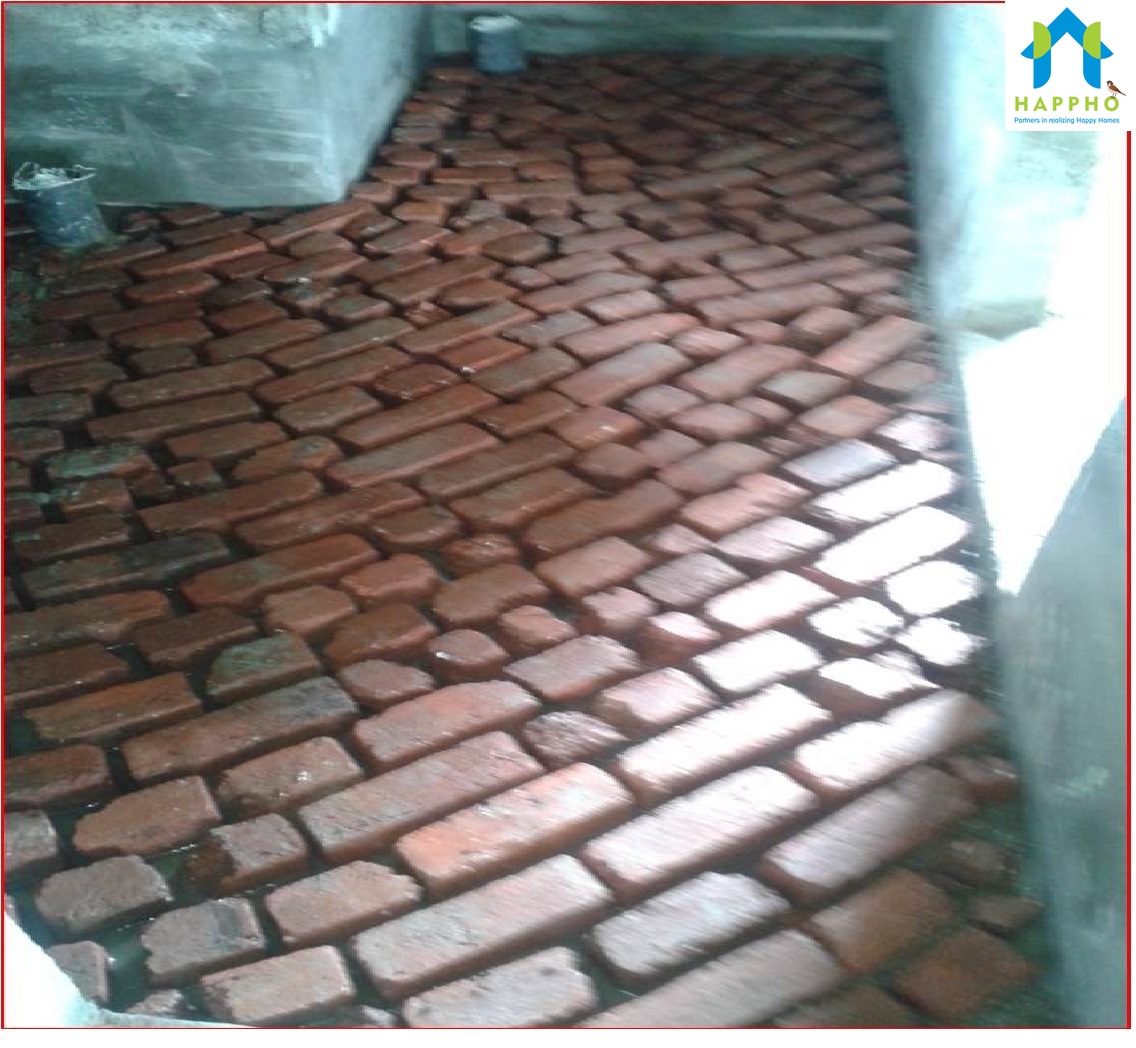
Fig: Brick Bat Coba Laying
E. Filling Joints between Brick Bat Coba
Fill joints with CM 1:4 along with water proofing compound (dosage as per manufactures). Perform curing for 03 day.
F. Finishing of Corners and Vertical Stands
The corners and vertical up stands (2’ above sunk) are finished with CM 1:1 (12 mm thick) admixed with water proofing compound (dosage as per manufactures).
G. Finishing Brick Bat Coba
Finish brick bat coba with joint less water proofing screed (Cement:Sand Mortar of 1:3) admixed with water proofing compound (dosage as per manufacture’s recommendation). The surface has to be finished smooth and checked for slope check. Also ensure proper finishing around Nani traps/inserts.
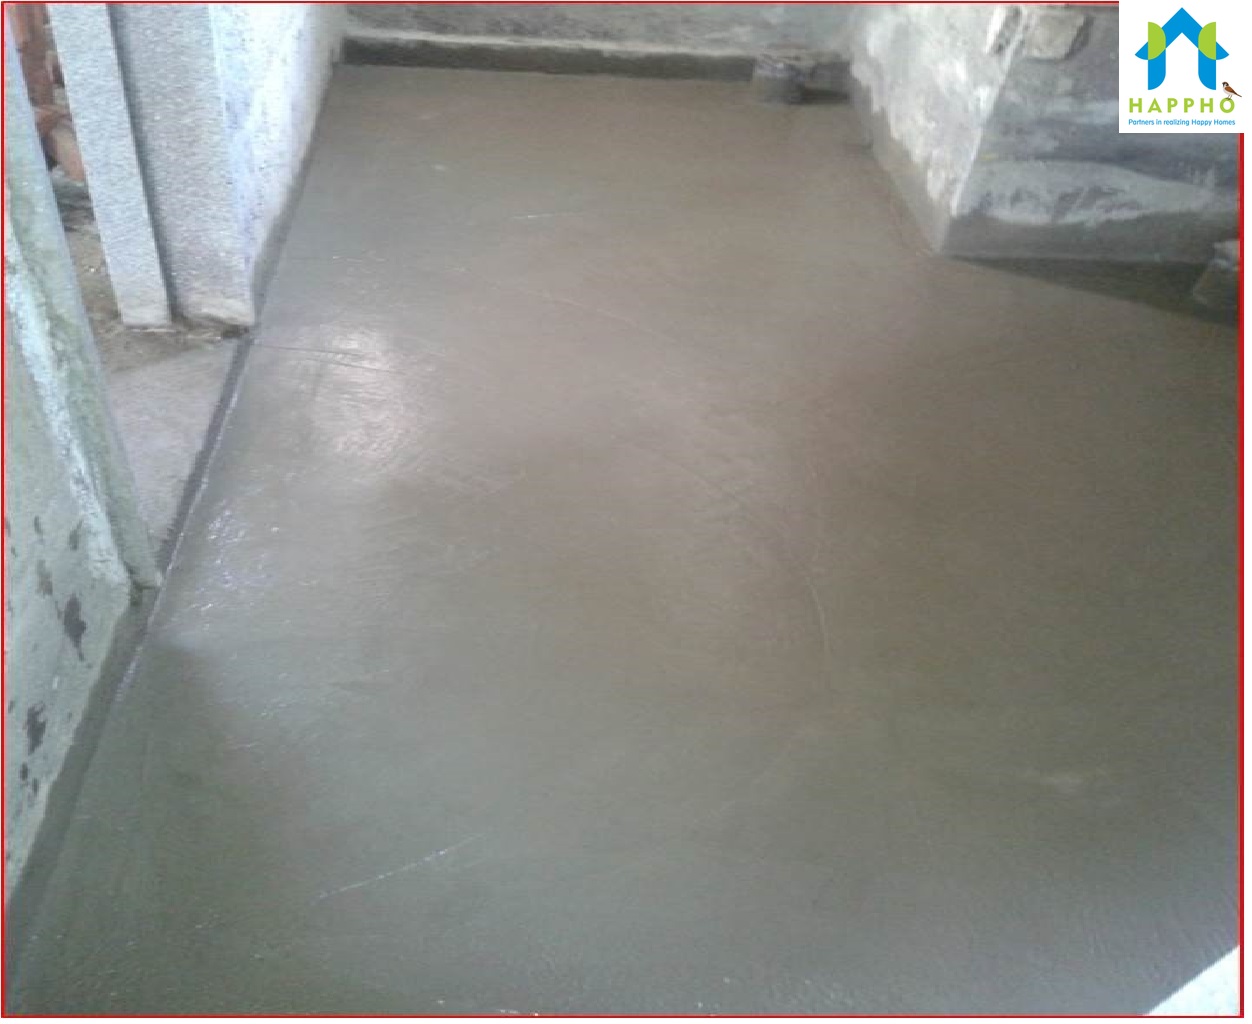
Fig: Finished Surface with screed after Brick bat filling
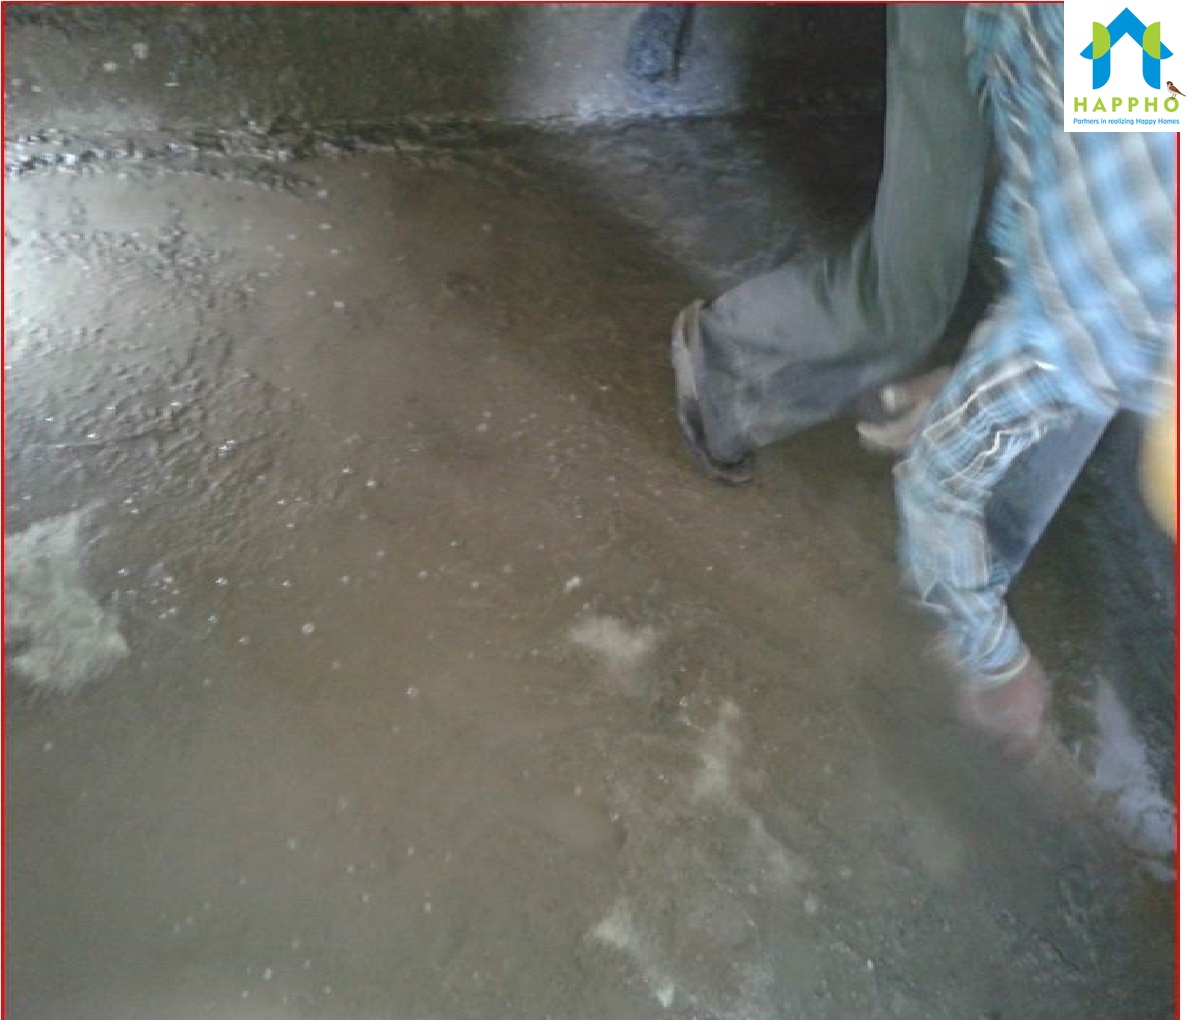
H. Check for Leakages (water Ponding Test)
Go for water ponding test (procedure as explained earlier) and check for any leakages
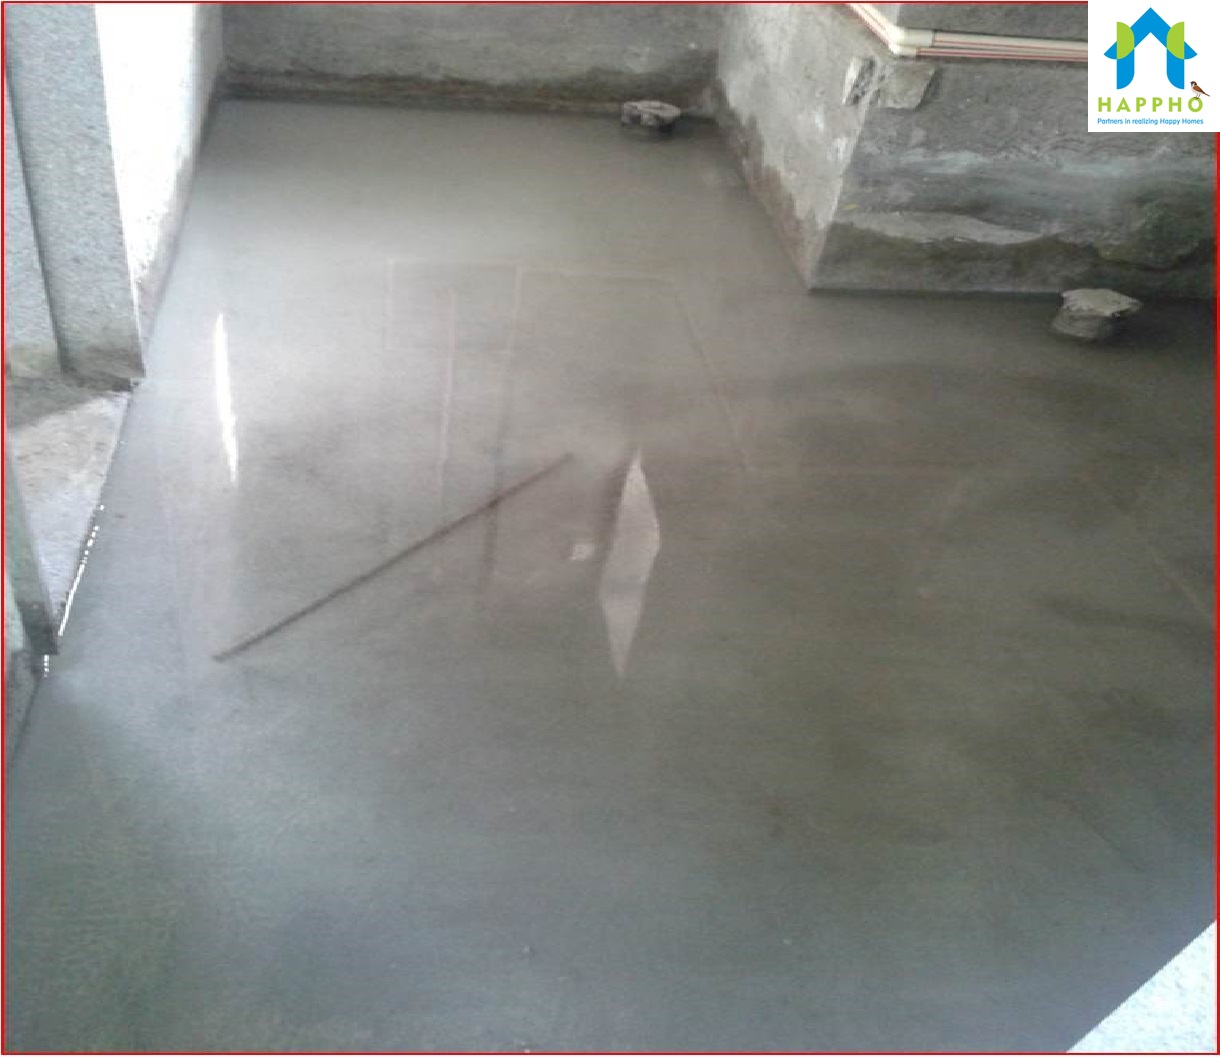
Fig: Waterponding Test
I. Final Curing
Cure the top finish layer (Above the brick bat) for a minimum of 7 days
Tips for Waterproofing (Points to be Remembered)
- Never miss the waterproofing of vertical wall upto 2’ height above the sunk portion
- Always check and strengthen the substrate concrete slab (receiving the waterproofing buildup)
- Do water ponding tests at various stages to determine any damages in the waterproofing course during the buildup
- All plumbing inserts and drainage pipes are to be checked for joint leakages
- All plumbing lines (concealed) are to be checked for joint leakage and pressure rating