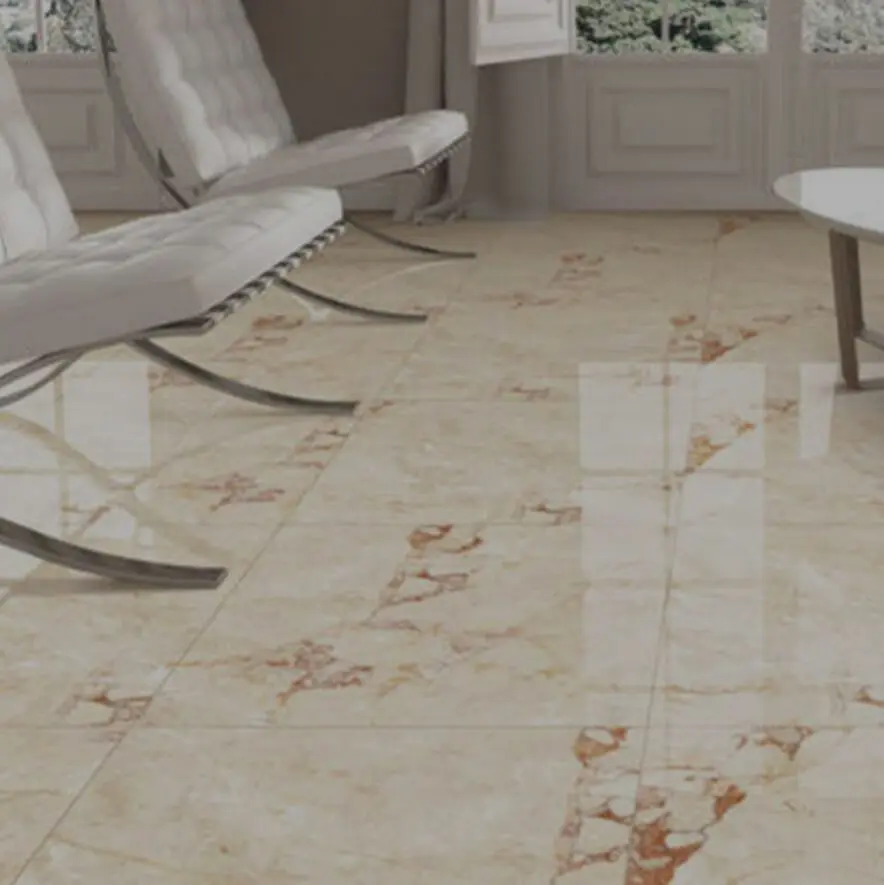
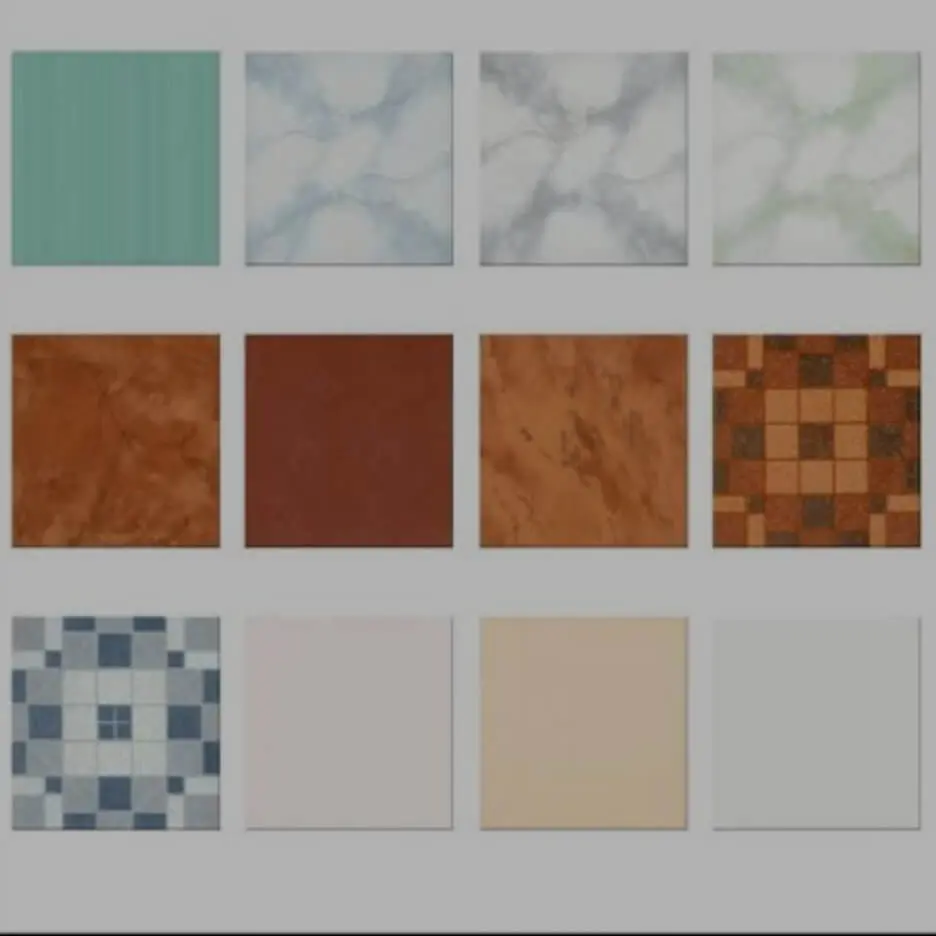
Vitrified tiles are widely used as finishing material for floors. These are ceramic tiles with more resistant to scratch, porosity. They are widely used for all type of indoor and outdoor flooring, wall cladding. Vast variety of textures, colours available in market. Tiles play an important role in aesthetics of any type of structure.
Advantages of Vitrified Flooring Tiles
- Smooth finishes.
- Cost effective.
- Strong and durable floor/cladding.
- Low maintenance.
- Water resistance and stain resistant
- Prevents growth of bacteria and fungi.
- Easy installation and ready to use after approximate 4 days of installation.
- Good economical alternative for marble, granite.
- Available in various sizes and thickness.
Step by Step Procedure for Installation of Vitrified Tile Flooring
Step-1: Surface Preparation
Surface should be well compacted and cured sufficiently to gain considerable strength to offer support. No pockets of loose soil should be left.
Step-2: Preparation of Subgrade
Concrete subgrade should be free from any loose particle and foreign material.The surface should be in SSD (Saturated Surface Dry) by means of water. Level pads for finished floor should be marked , and uniformly spread ,considering required slope ( in case of bathroom/Terrace . floor tiles)
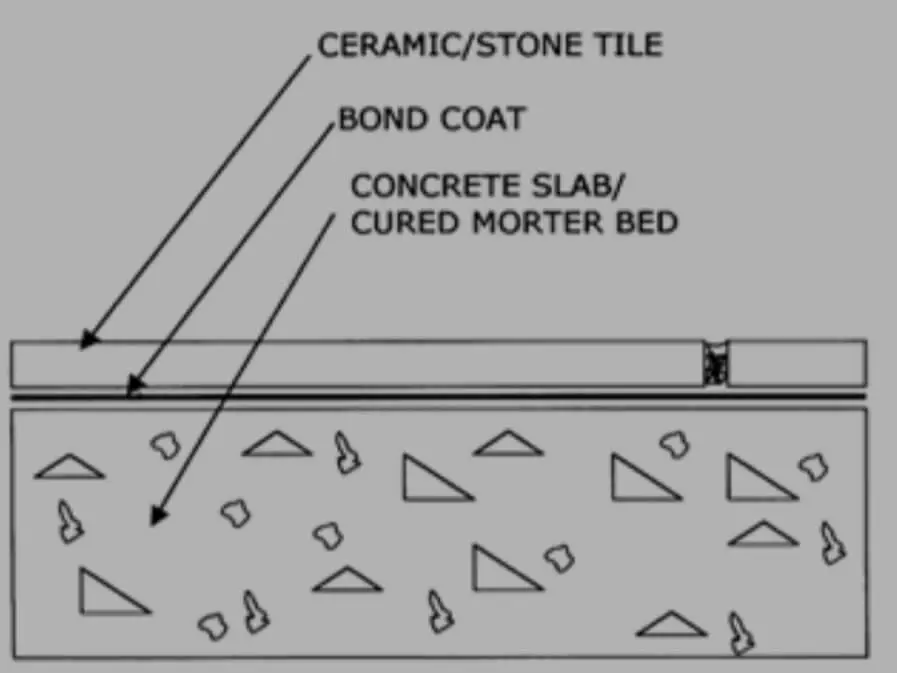
Step-3: Laying of tiles on the Surface
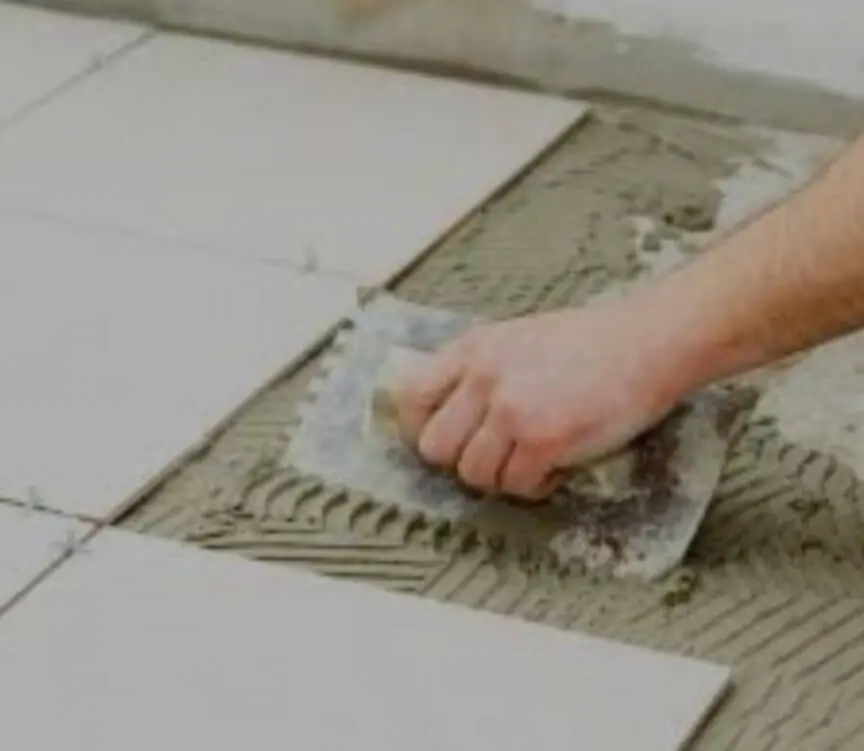
- Mortar bedding of (30-40) mm is prepared with ratio of 1:8 (cement:sand) lean mixture. Avoid rich mix proportions
- Cement slurry should be spread on the surface at 3 kg/sq.m approximately
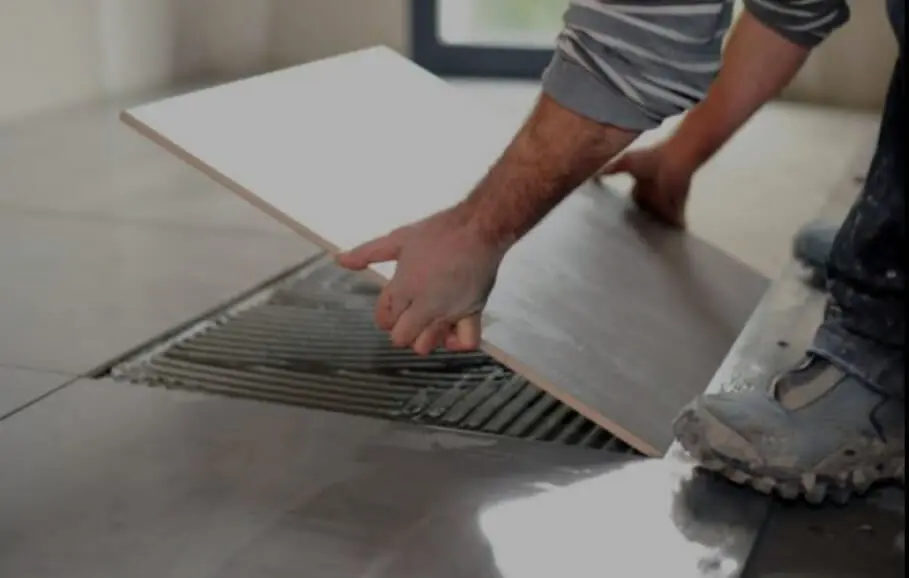
- Using reference lines, tiles are placed in line, level is checked and right angle is maintained throughout
- Use dot points to check the tiling accuracy
- Tiles near wall are supposed to be placed 12 mm away from wall for skirting
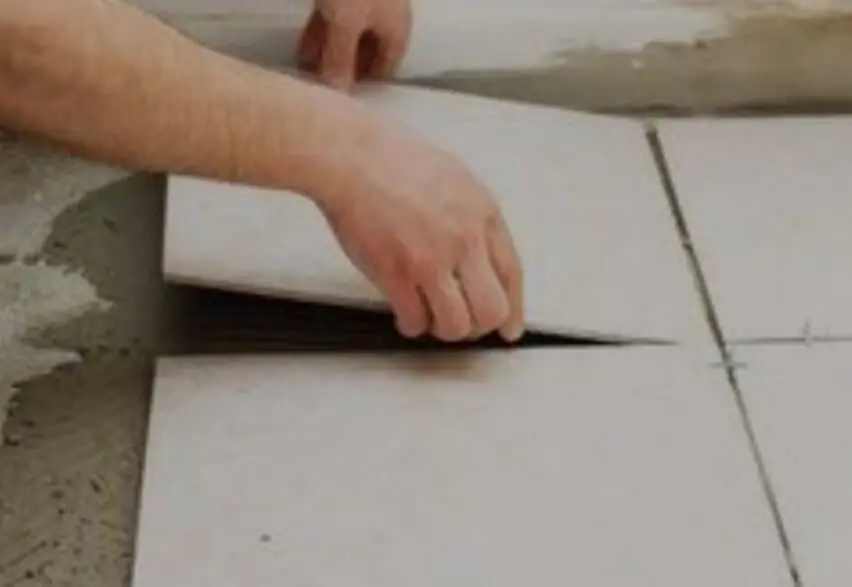
- After laying tile, it should be levelled by light tamping with wooden mallet.
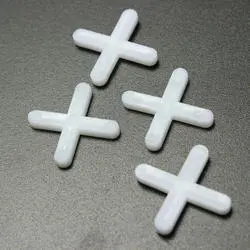
- Spacers should be used to maintain the alignment of tiles
- Spacers are provided for removal of air below tiles or extra cement.
- Surface is now kept for drying
Step-4: Post Tiling Work
When the floor dries, floor should be cleaned thoroughly. After curing for three days (avoid unnecessary foot movements) , cover the tile flooring with bubble sheet/POP Sheet to avoid any scratched. As we approach possession of unit .grout of shade matching to the tile or white cement is filled the tile joints
Washing and cleaning of finished floor after completely drying.
Tools Used for Installation of Flooring Tiles
- Steel brush
- Plumb bob
- Levelling tube
- Right angled edge or straight edge
- Strings
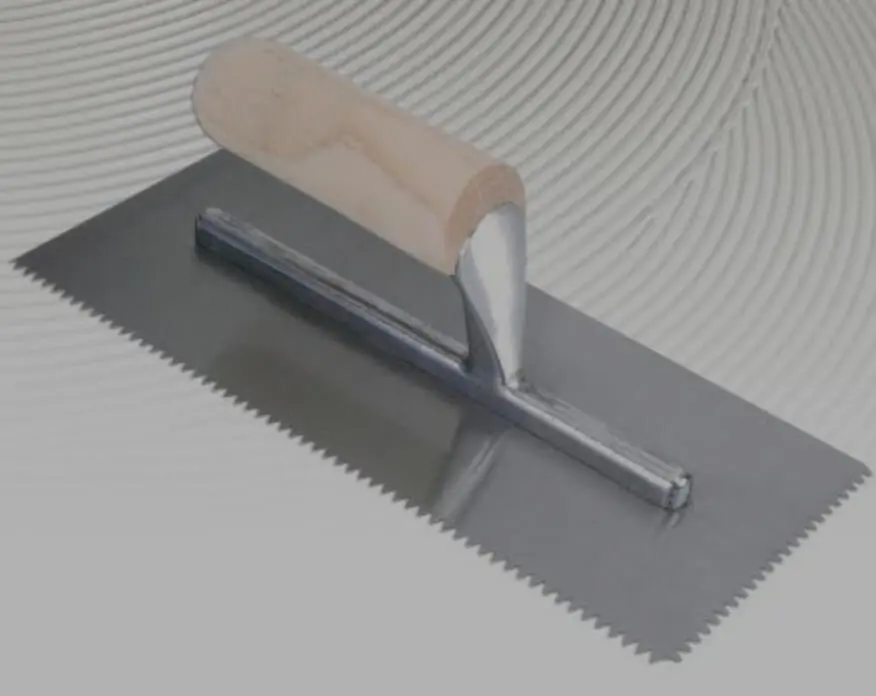
- Trowels
- Cutting machine with wet cutter
- Wooden hammers and nails
- Spacers
- Measuring tape
- Tile nippers
- Buckets

– Vrushali Pathak